Viewing images
The Viewer is the main QuPath component in which images are shown.
This section describes the controls and shortcuts that can enable you to use the viewer efficiently to move around images and draw annotations. If you would like to know more about changing how pixels are displayed (including adjusting the brightness and contrast), check out the Separating stains section.
Using a mouse (default mode)
Panning
Select the Move tool  , then click on the image and drag to move it.
If another tool is currently selected, press Spacebar to temporarily activate the Move tool. Releasing the Spacebar returns to the previously selected tool.
Alternatively, to move quickly to a specific region simply click on the area you wish to navigate to in the overview shown in the top right corner.
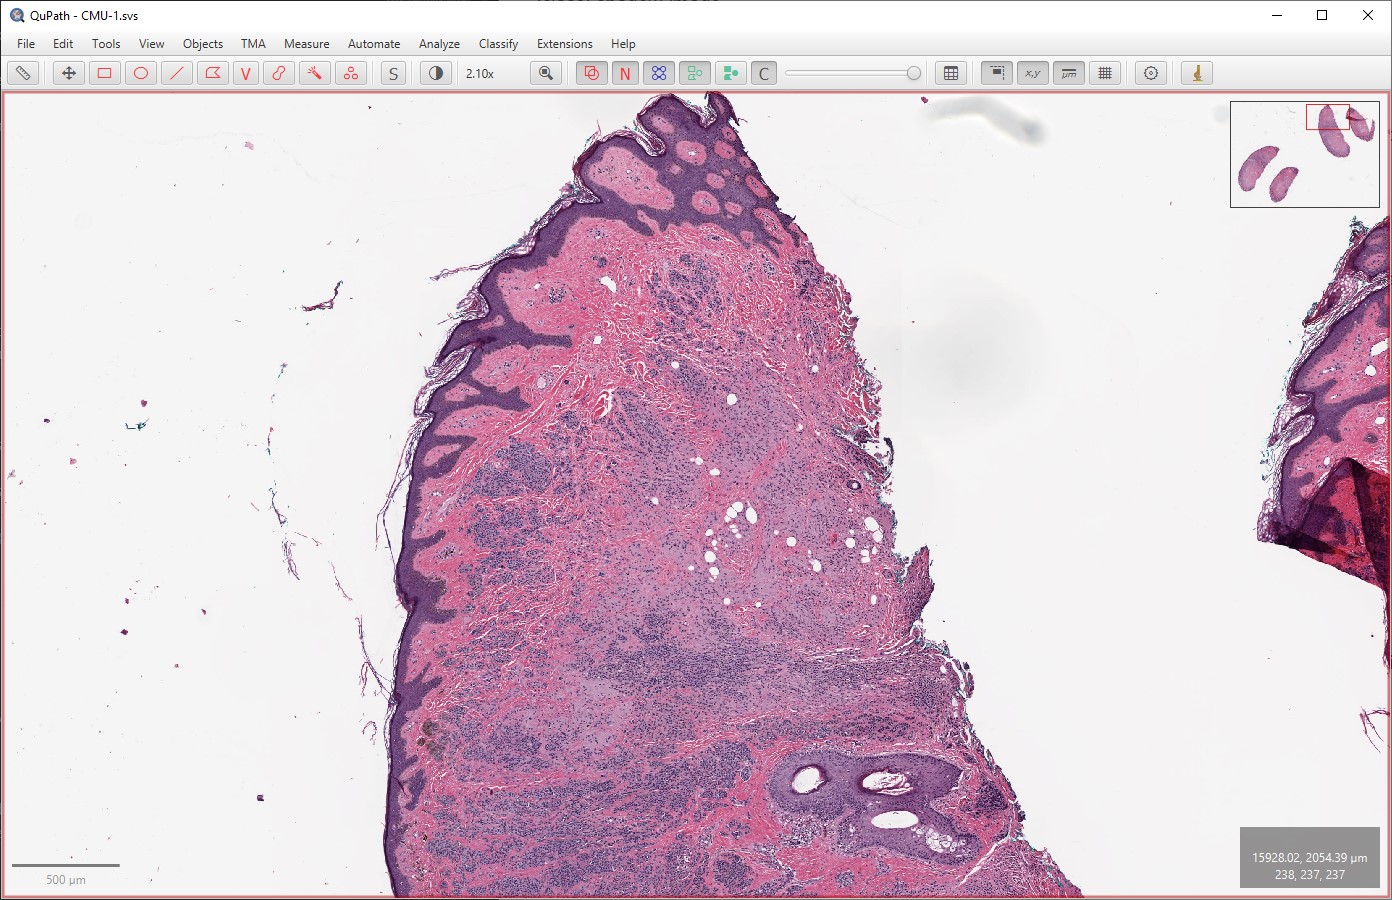
Clicking on the image overview (top right) shifts to view another part of the image
Zooming
Use the scroll wheel to zoom in and out.
The location of the cursor determines where will be centered whenever zooming - so it is a good idea to put the cursor on top of the area that you would like to zoom to.
Tip
If everything seems inverted:
In some cases, it may appear that scrolling makes things move in the opposite direction from what is expected. This can happen, for example, when using a Mac with Scroll direction: natural turned off in the System Preferences.
If this affects you, open QuPath’s Preferences panel  () and change the setting for Invert scrolling.
It should behave better afterwards.
() and change the setting for Invert scrolling.
It should behave better afterwards.
Using a trackpad (or touch-sensitive mouse)
Of course, the mouse controls also work with trackpads. However additional touchpad gestures can be activated under . These can be used to turn on ‘pinch-to-zoom’, and free up the scrolling motion to navigate the slide. This can also enable rotation.
Tip
It is possible to use at least some of the gestures with a touch-sensitive mouse, e.g. the Apple Magic Mouse. For example, turning on the scroll gestures only provides an efficient alternative method to navigate images. Just don’t forget to hold down the Shift key when scrolling to zoom in and out.
Using a keyboard
↑ ↓ ← →
The behavior of arrow keys depends upon the dimensions of the image, and whether there is a tissue microarray grid present.
For most 2D images, scroll the image in the direction pressed.
For a TMA image, select the next core in the direction pressed.
For a z-stack, ↑ and ↓ moves between z-slices
For a time series, ← and → moves between time points
Shift+↑, Shift+↓
Zoom in or out.
Enter
The action depends on the object currently selected:
If an annotation is selected, a dialog box will be shown to set the annotation properties
If a TMA core is selected, a dialog box will appear to allow notes to be entered quickly
Spacebar
Temporarily turn on the Move tool (as described above).
Viewing multiple images
QuPath supports working with several images together by creating a ‘grid’ of viewers, and opening a different image in each viewer.
The options to create a grid are found under . You can also access this menu by right-clicking on an existing viewer.
The viewer that is currently selected is highlighted with a red boundary. There are also synchronization options, so that operations such as panning and zooming propagate to other viewers.
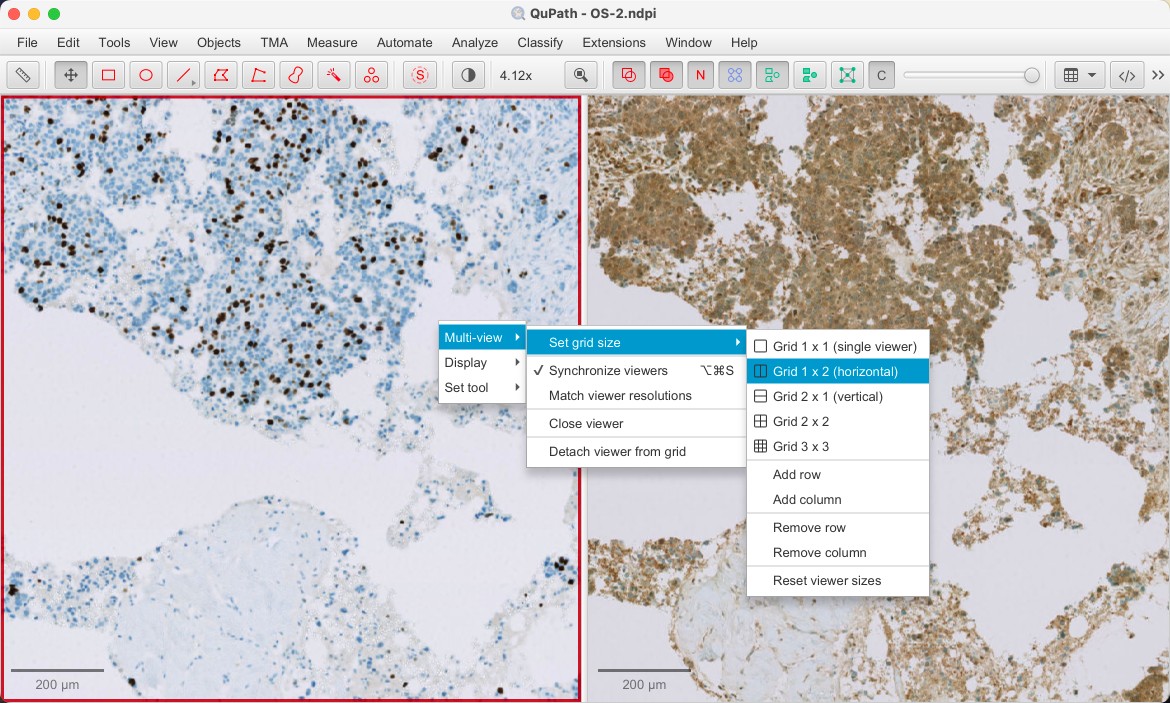
Opening OS-2.ndpi and OS-3.ndpi side-by-side, as part of a 1 x 2 viewer grid
Multidimensional images
QuPath is mostly used with 2D images, sometimes with many different color channels. However, it has some support for z-stacks and time series.
Controls to navigate z-slices and time points are shown on the top left of the viewer, where available.
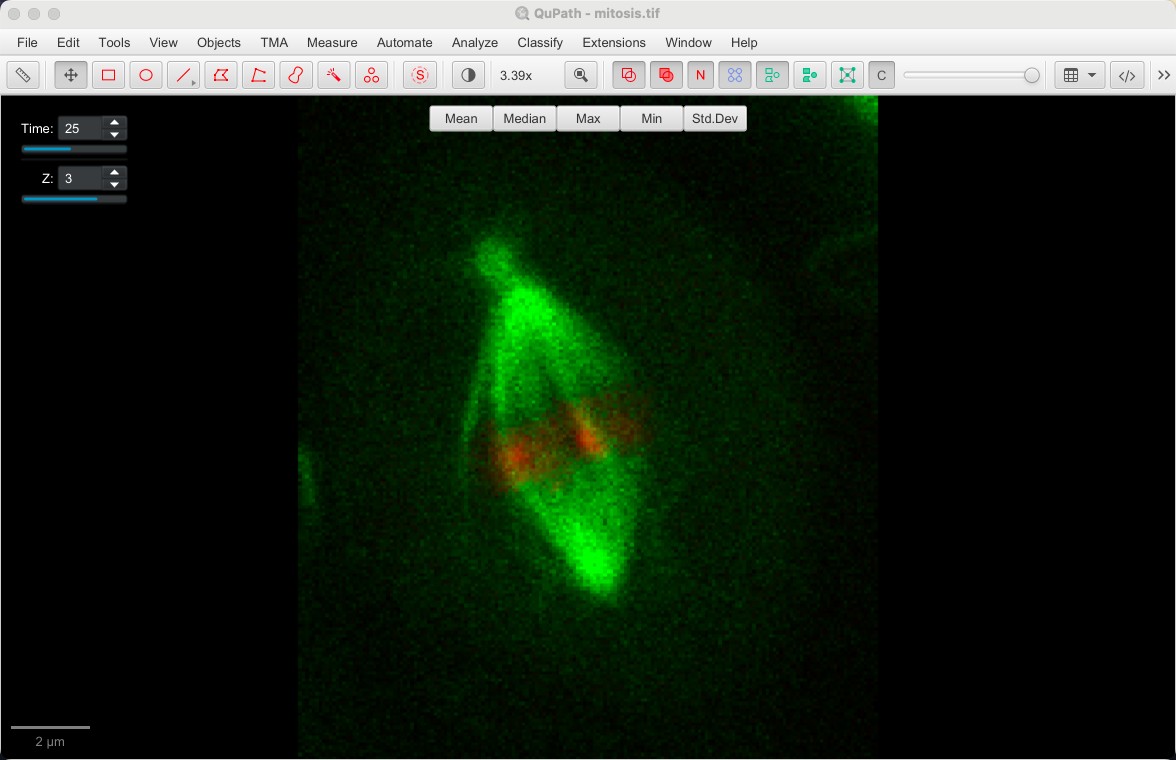
ImageJ’s 5D sample image ‘Mitosis’ opened in QuPath, showing navigation controls
QuPath v0.6.0 also introduces a new option . This makes it possible to view different z-projection overlays when looking at a z-stack.
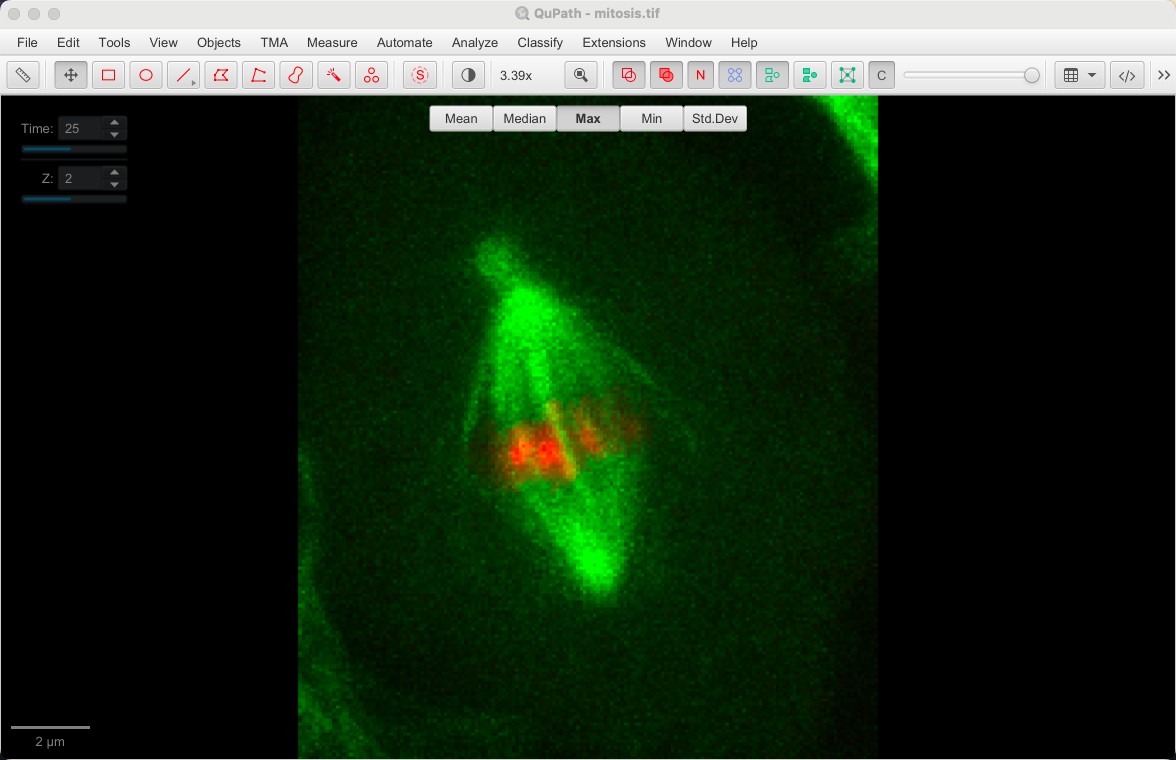
Max projection overlay applied to ImageJ’s ‘Mitosis’ image in QuPath
Other input devices
Touchscreens
Gesture controls can also be applied to touchscreens. Customize with .
Graphics tablets
If you have a compatible pressure-sensitive graphics tablet, QuPath’s Brush tool is able to adapt size according to pressure - with the help of an extension based on JPen.
Note
So far, this has been tested only with Wacom tablets (Intuos and Cintiq).